
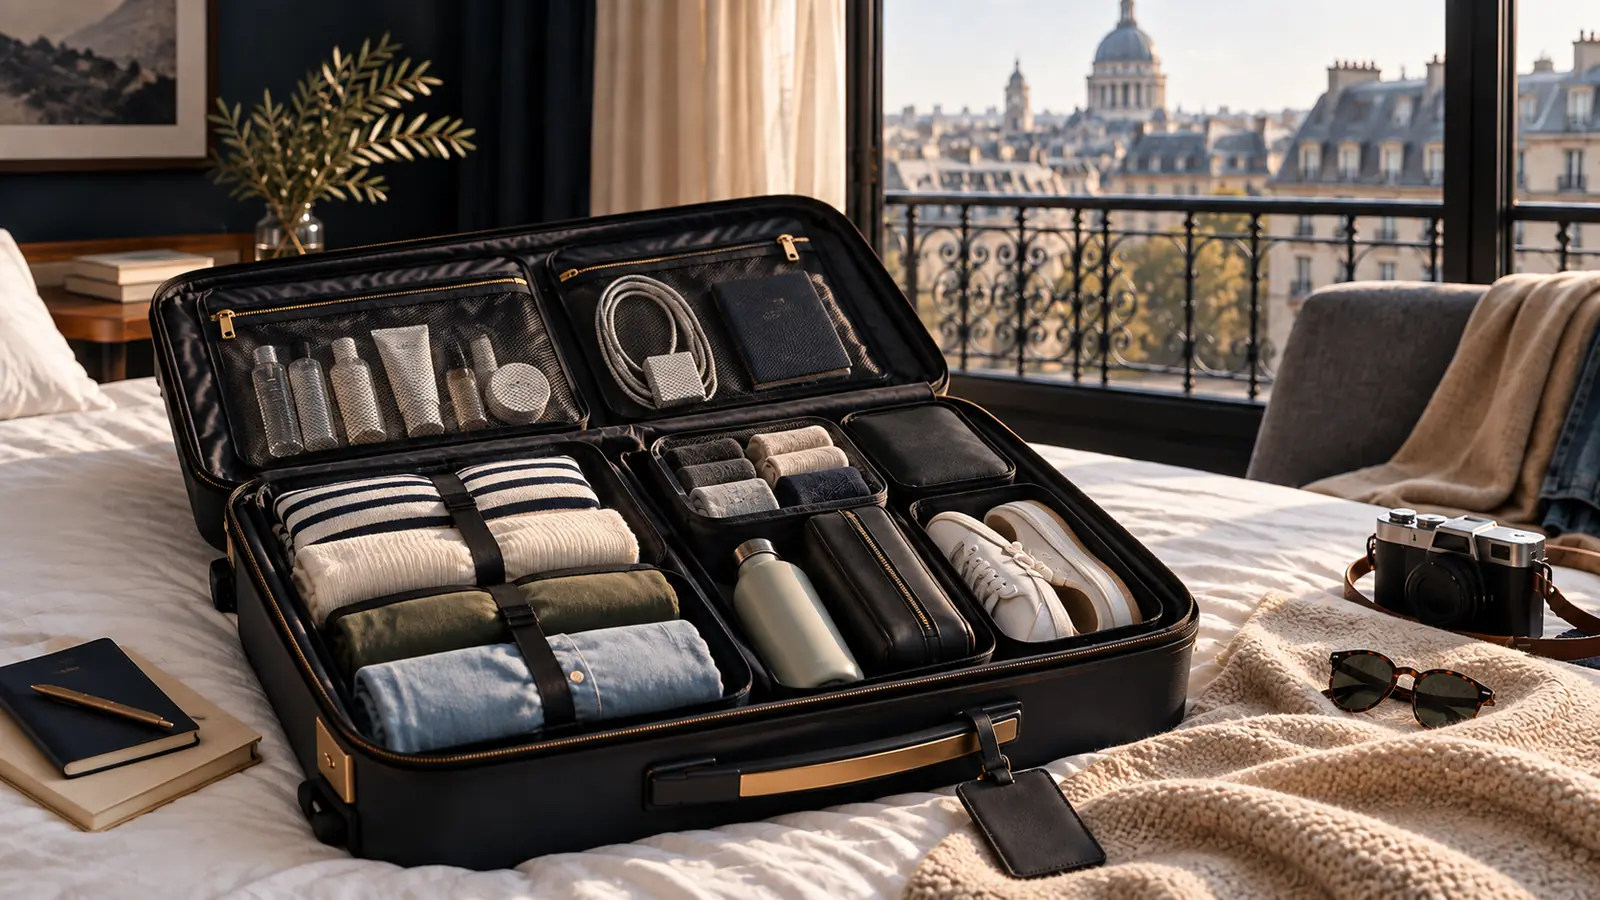
There is no single seven-day list that works for a winter work trip, a warm-weather holiday and a multi-stop journey. The repeatable part is the order of decisions: constraint → trip conditions → clothing roles → laundry → shoes → toiletries and electronics → final cuts → packing margin.
If the load still does not fit after that process, the honest answer may be to check a bag. Carry-on-only is a method, not a test of discipline.
Step 1: Establish the real travel envelope
Before choosing clothing, write down the limits that can stop the plan at the airport.
Check the exact airline, fare and route
There is no universal carry-on size or weight allowance. Official airline policies illustrate the difference: Delta lists a 22 × 14 × 9-inch carry-on for its standard allowance; Ryanair's Priority & 2 Cabin Bags fare lists a 55 × 40 × 20cm cabin bag up to 10kg; Qantas publishes a different dimensional system and a 7kg total for relevant Economy allowances.
Those are airline-specific examples, not a definition of “carry-on approved”. Rules can vary by fare, aircraft, route and operating carrier. Verify the booking's current allowance before travel.
Record four things:
- permitted external dimensions;
- permitted weight;
- whether a personal item is included; and
- whether the strictest segment is operated by another airline.
Use the strictest applicable limit for the complete itinerary. A bag that satisfies the first flight may still fail a later segment.
Check security and liquids rules separately
Airline baggage rules and airport security rules are different systems. The UK's official guidance says liquid limits depend on the departure airport and directs travellers to check that airport. Current European Commission guidance limits ordinary cabin liquids, aerosols and gels to individual containers no greater than 100 ml, subject to stated exemptions. Transfer airports can introduce another set of conditions.
Do not rely on an old social post or the scanner installed at the departure terminal. Check current official guidance for every relevant airport shortly before travel. Medical, baby-food and duty-free exceptions need their own verification.
Measure and weigh the actual packed bag
Published bag capacity cannot confirm compliance. External frames, wheels, handles, pockets and the way a soft bag is filled all affect the final dimensions. Weighing an estimated list is also not the same as weighing the finished bag.
The final pre-trip check is physical: pack the exact load, close the bag without forcing it, measure its widest points and weigh it on a suitable scale. This guide does not claim that an unmeasured example load fits a specific allowance.
Step 2: Define the trip you are actually taking
A useful seven-day load follows the itinerary rather than the number seven. Complete this short trip brief before opening the wardrobe.
Swipe horizontally to compare all columns. Keyboard: focus the table and use the arrow keys.
| Decision | What to record | Why it changes the load |
|---|---|---|
| Climate | Expected range, rain, wind and indoor conditions | Determines layers, fabric and footwear |
| Activities | Work, leisure, formal, exercise, outdoor or mixed | Identifies genuine clothing roles |
| Laundry | No access, sink wash or dependable machine | Sets the maximum interval between clean items |
| Movement | One base or repeated accommodation changes | Changes the value of fast access and low weight |
| Transport | Flight, rail, car, walking and stairs | Changes how burdensome the bag becomes |
| Supplies | Toiletries, equipment or replacements available locally | Separates necessary carriage from easy substitution |
Avoid packing for every plausible version of the trip. Pack for the booked and reasonably expected version, then identify the few consequences that are serious enough to justify a contingency.
Step 3: Give every clothing item a role
Do not begin with a universal count of tops and trousers. Begin with functions.
A seven-day clothing plan may need:
- a travel outfit;
- a core daytime rotation;
- an activity-specific or work/formal option when the itinerary requires it;
- sleepwear or base layers;
- an insulating or weather layer; and
- underwear and socks through the next realistic wash point.
An item earns space when it covers a planned role and works with the rest of the rotation. A piece that creates a new outfit but duplicates an existing function needs a stronger reason.
Use a compatibility check:
- Can every main garment work with at least one other item already selected?
- Does the item require a second item that serves no other purpose?
- Is its planned use written in the itinerary, or merely imaginable?
- Could one layer cover two temperature or presentation needs?
- What becomes impossible if it stays home?
The aim is sufficient coverage, not the smallest possible wardrobe. A work presentation, cultural requirement or formal event can justify a single-purpose item. It simply needs to be named as a real constraint.
Step 4: Decide the laundry interval
Laundry changes the packing equation because it changes how many days a clothing category must cover before reuse.
Choose one of three honest positions:
- No laundry: Carry enough next-to-skin items for the trip and accept the resulting volume.
- Simple hand wash: Use only for fabrics and accommodation conditions that make drying realistic.
- Planned machine or service wash: Record when and where it will happen, plus what is worn while the load is unavailable.
Do not include imaginary laundry access simply to make a minimalist list look possible. Conversely, do not carry seven independent outfits when a reliable mid-trip wash is already part of the itinerary.
Laundry is a planning choice, not a moral advantage. If the available time, accessibility or clothing requirements make it impractical, pack accordingly.
Step 5: Make the footwear decision early
Shoes are rigid, irregular and difficult to reshape around the remaining contents. That makes them a high-impact decision even though no universal “one pair equals X shirts” calculation is defensible.
For each pair, ask:
- Which confirmed activity requires it?
- Can the travel pair also perform that role?
- Is the alternative genuinely unsuitable, or merely less ideal?
- What is the consequence of not having it?
- Can the bulkiest suitable pair be worn in transit without creating a comfort or security problem?
One extra pair can be rational for formal, occupational, weather, medical or activity requirements. “A different look” is a weaker case when the bag is already at its limit.
Step 6: Right-size toiletries and electronics
Toiletries
Start from the routine actually needed for seven days. Remove duplicate “backup” products, decant only when the container and contents can be handled safely, and do not assume a toiletry pouch itself satisfies security rules.
Separate three decisions:
- what is medically or personally non-negotiable;
- what must pass through airport security; and
- what can be supplied by the accommodation or obtained at the destination.
Current liquid limits, medicine documentation and destination availability must be checked for the actual journey. Check these rules again shortly before departure.
Electronics
Choose devices from the work and communication tasks the trip requires. Then add only the cables, adapters and power sources necessary to operate those devices under the destination's electrical conditions.
Avoid packing multiple devices for the same task without a named reason. Battery and security requirements are product- and route-specific; verify them with the airline and relevant authority rather than relying on a generic packing guide.
Step 7: Choose organisation after the list is settled
Organisers can make a final load easier to access, but they should not decide the load.
If clothes become mixed or difficult to reach, Are Packing Cubes Worth It? helps decide whether cubes solve that problem. If the challenge is soft bulk rather than access, compare the mechanisms in Packing Cubes vs Compression Bags. If regular cubes already make sense, use How Many Packing Cubes Do You Need? to derive the smallest useful arrangement.
A no-purchase system can also work: use the bag's built-in divider, assign fixed zones and place the next-needed items where they can be reached without rebuilding the bag.
Step 8: Make the final cuts in a useful order
If the closed bag exceeds its size or weight envelope, do not start by removing medication, required equipment or the only suitable weather layer. Cut low-consequence duplication first.
Use this review sequence as “Worth Bringing” analysis, not as a universal formula:
- Duplicate roles: items that perform the same job under the same conditions.
- Low-use bulky items: large pieces attached to an unconfirmed or weakly likely scenario.
- Convenience backups: extras whose absence would cause mild inconvenience rather than trip failure.
- Isolated outfits: garments that require other single-purpose pieces.
- Replaceable non-essentials: items available at an acceptable cost and effort at the destination.
Recheck the consequence after every removal. Stop when the bag complies and the trip remains adequately supported. The objective is not aggressive minimalism.
If the main difficulty is the repeated urge to add “just in case” items, move to How to Stop Overpacking rather than repeating this packing sequence.
Step 9: Preserve packing margin
A bag that closes only with force has no operational margin. It leaves little room for imperfect repacking, a damp garment, food bought for transit or something legitimately acquired during the trip.
Margin need not be expressed as a universal percentage. It can be tested directly:
- Does the bag close without leaning or forcing the zip?
- Can the item needed at security be reached without unloading everything?
- Can the traveller repack the bag without recreating an exact compression puzzle?
- Does the packed bag stay within the verified size and weight allowance?
The system is complete only when it works on the second packing, not just on the carefully staged first attempt.
Adjust the system for the trip type
Warm weather, with laundry
The load can rely on a small rotation and planned washing. Sun protection, rain and indoor cooling may still justify layers; “warm” does not mean uniform conditions.
Cold weather
Bulky outerwear and insulated footwear can make carry-on-only impractical. Wearing a heavy layer in transit is one option when safe and comfortable, not a requirement. Do not compress safety-critical clothing below what the destination demands.
Work or formal travel
Presentation standards may require structured garments, shoes or equipment that resist compression. The right answer may be a roomier carry-on system or checked luggage rather than forcing formal clothing into a leisure template.
Multi-stop travel
Weight, access and repeatable repacking become more important because the bag moves repeatedly. A slightly smaller load may provide more value than another outfit.
One accommodation for the week
The burden of daily carriage is lower. A roller or checked bag may be entirely rational if transfers are simple and the additional items have real use.
Who should skip carry-on-only for seven days?
Carry-on-only may be the wrong objective when the trip includes:
- medical or adaptive equipment that must travel with the user;
- caregiving supplies for a child or another traveller;
- protective, sporting or professional equipment;
- formal clothing that cannot be compromised or easily restored;
- sustained severe-weather requirements;
- remote travel where replacements and laundry are unreliable; or
- a traveller who cannot safely lift or carry the compliant bag.
Some of these items may need to remain in the cabin rather than checked, subject to airline and regulatory rules. The conclusion is not automatically “check everything”; it is to plan the correct baggage arrangement around the non-negotiable need.
If the unresolved question is bag format, use Travel Backpack vs Rolling Carry-On before finalising the load.
Worth Bringing verdict
Seven days in a carry-on is achievable when the trip's real requirements fit inside the verified travel envelope. The method is to set the constraint, build by clothing role, make a truthful laundry decision, settle shoes and non-negotiables, then remove low-consequence duplication while preserving margin.
It is not achieved by a universal list or a clever organiser. When the necessary load still exceeds the allowance—or when carrying and lifting it would be unsafe—the carry-on-only plan should be left behind.
Sources and methodology
This is a research-based guide supported by official airline and government sources plus a clearly labelled “Worth Bringing” packing framework. It is not a measured pack test.
- Delta Air Lines — Carry-On Baggage (opens in a new tab): airline-specific dimensional guidance used as one representative example.
- Ryanair — Bag Policy (opens in a new tab): fare-specific cabin-bag dimensions and weight used as one representative example.
- Qantas — Carry-On Baggage (opens in a new tab): route/class-specific cabin-bag rules used as one representative example.
- UK Government — Hand Luggage Restrictions: Liquids (opens in a new tab): official guidance that UK liquid limits depend on the departure airport.
- European Commission — Information for Air Travellers (opens in a new tab): current EU guidance on the 100 ml container limit and stated exemptions.
Travellers should verify the current rules for their exact booking, operating carrier, departure and connection airports.